Go to Catalog/Categories and then choose Import. You can use the importer to upload all your categories with just one file easy and fast. The supported format of files is CSV.
When you upload the file, you will see a preview of the first 10 categories. There are mandatory fields that you must fill in:
– id – If you are adding a new category to the shop, this column should be blank, we will create a unique id for every category. Only exported categories will have an id.
– URL – the URL of the category. It will be generated automatically based on the category name but you can edit it if you want
– Parent id – if the newly added category is going to be main you need to write 0. If you want to make it a subcategory to another you need to write the id of the category (example: If you add category Sunglasses and you want it to be a subcategory of Accessories, in the parent id filed you write Accessories’ id)
– English* name – Name of the category
– English* description – Description of the category if you want to add
– English* meta title – It’s recommended for SEO but can be blank
– English* meta description – It’s recommended for SEO but can be blank
– English* meta keywords – It’s recommended for SEO but can be blank
*The language depends on the default language of the shop.
If you support more than one language, even if not all of them are visible to the customers you’ll have to fill in the information for every language or you won’t be able to upload the file.
If the columns of your file are in a different order, don’t worry. Use the dropdown to change columns’ titles. 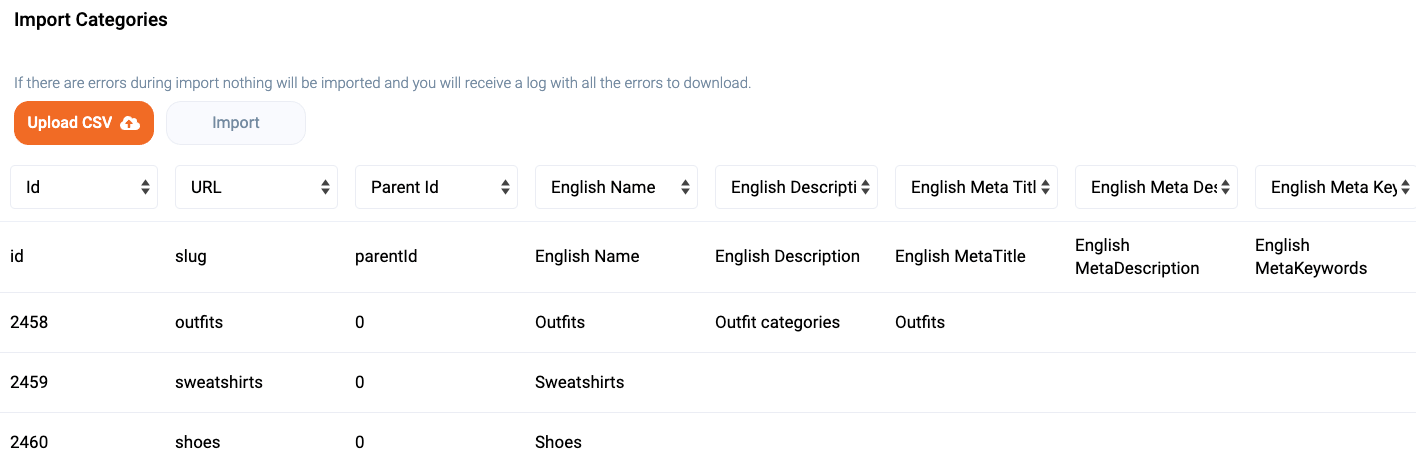 When you are ready click on Import. If no mistakes are made you’ll see a notification saying that the import is successful. If there are mistakes the system won’t upload anything and you’ll see an extra button. Clicking on it you’ll download a file. There you’ll see on which line of the CSV file is the mistake and what exactly it is.
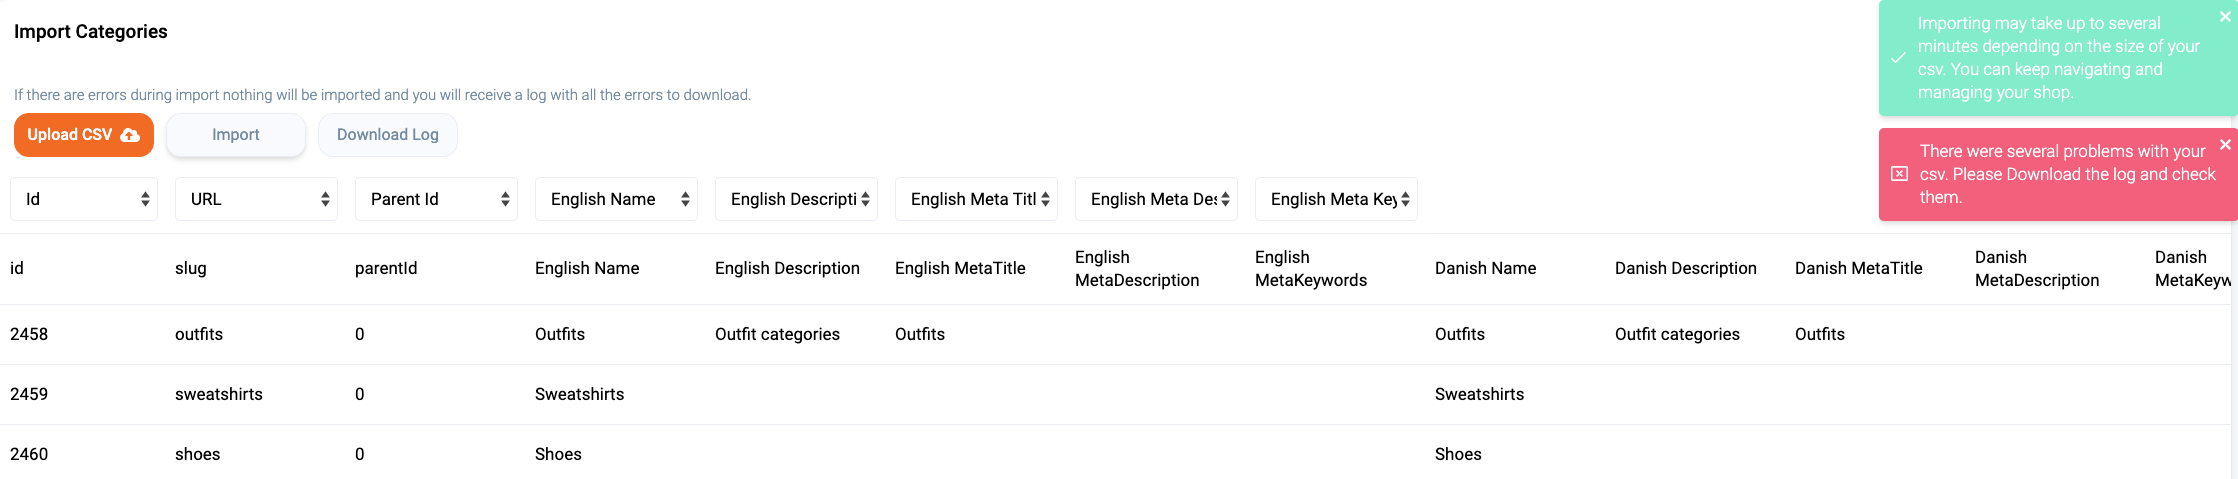 When you are done editing upload the file again and Import it.